When looking for a place to live here in Louisville, we were thrilled to find a house with a pretty large kitchen, since so many older homes have tiny little nooks the size of a closet set aside for cooking. Since we lived with small kitchens our whole time in Europe I know we can adapt to anything, but it sure is fun to have a little more space to play with. It's now true in our house that everyone hangs out in the kitchen!
I felt pretty strongly that a room this size really needed a permanent island rather than the smaller, movable type that the previous owners had used in the space, and we were happy to find that it's really not rocket science creating a simple one.

After measuring and mapping out our new layout, I used painter's tape to help imagine the possible size and position of the island before committing to anything. The minimum amount of space you need between an island and the opposite countertop is three feet, but more is definitely better, especially when you factor in oven, dishwasher and refrigerator doors opening. So we played around with the taped outline, trying to get the most storage and counter space out of the island possible without making the flow of the rest of the kitchen feel cramped.

Our plan for the island included a couple of base cabinets for added storage along with some extra countertop overhang for squeezing in a little seating area. I also knew I wanted to try to fit in a little bookcase somewhere, too, to store cookbooks and magazines in a handy place out of the way. For inspiration we flipped through magazines and tons of websites, looking for a style and countertop color that would compliment the dark granite already installed in the surrounding area of the kitchen. We both agreed that our absolute favorite is carrera marble, a stone with a soft white and gray streaks, but assuming it would be prohibitively expensive, I relegated it to a "someday" category. Come to find out that Home Depot offers carrera marble in their middle price range, comparable with most of their granite options. Any stone or solid surface countertop won't exactly be cheap, but thankfully we were only buying enough for this island, so we were able to be a bit more flexible. By the way, if you're thinking about buying carrera marble, be ready to sign about a thousand forms waiving any right to complain to them about damage later on down the line. Marble is a soft, porous, stainable, scratch- and chipable stone, so you have to be ready for it to develop some "patina" over time. But it sure is pretty:) And we're willing to use coasters.

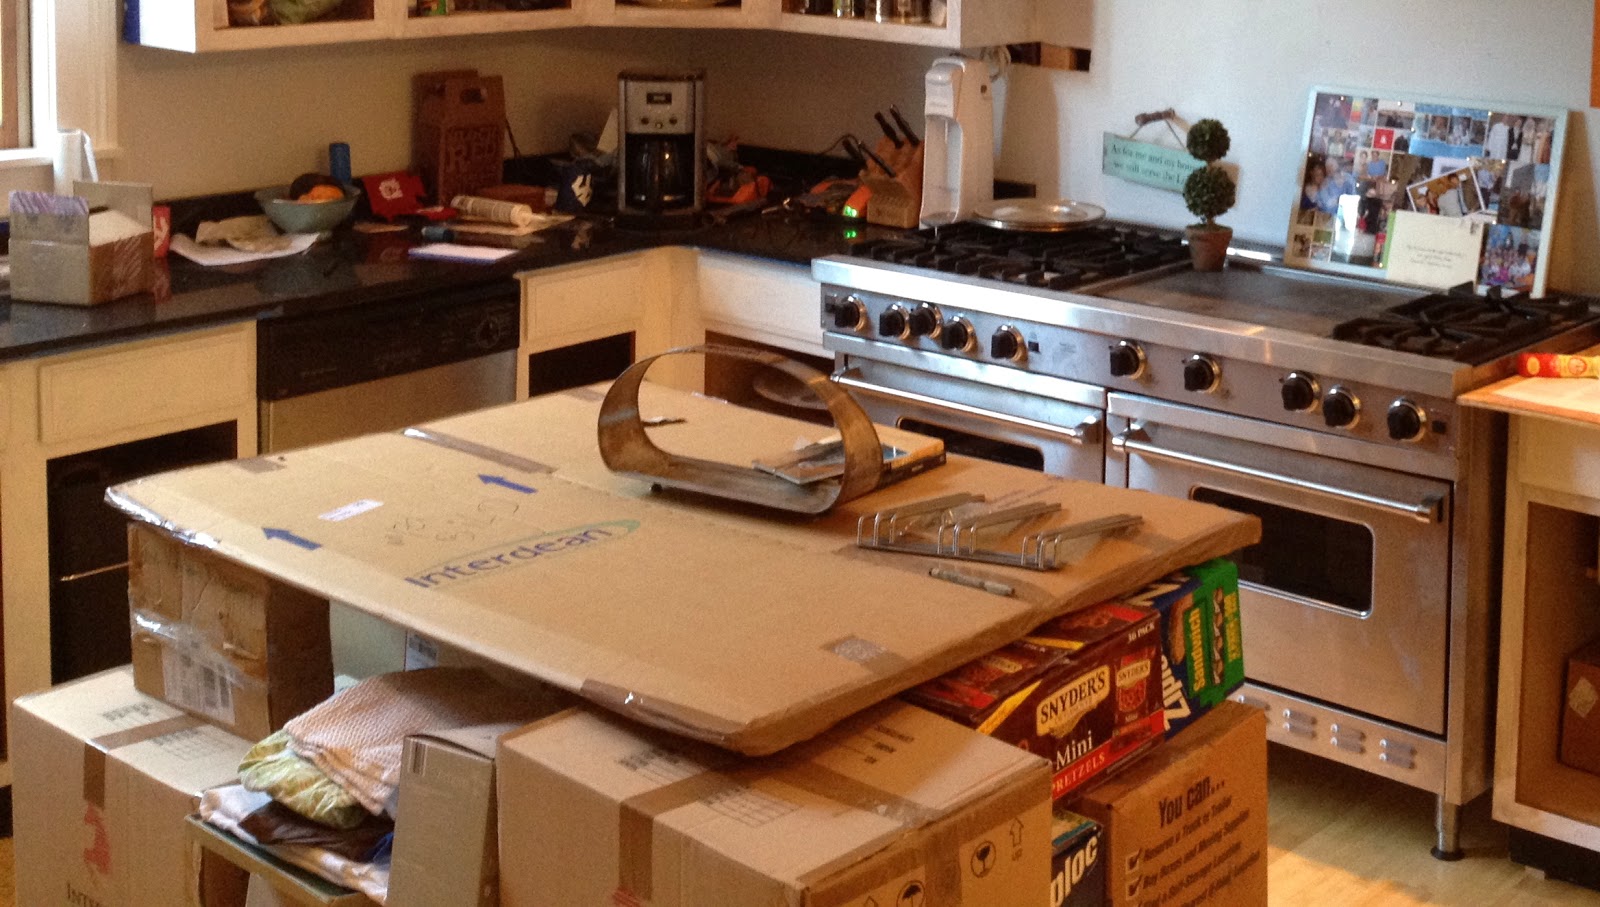
Since we were ordering a slab of stone cut to our dimensions, we wanted to be sure about the sizing of the island countertop. Our next phase in our prep process was to use still packed moving boxes to build up the area, giving us an even better idea of whether the spacing would work for us with the final product. (We were clearly living in a state of total chaos at this point.)
In the end, we decided to maximize the width of the island by leaving the minimum 36" on two sides, but we shortened it slightly to give more space by the sink and dishwasher, where so much of the activity in the kitchen takes place. This left us with just enough space to squeeze a couple of seats and a stool at the counter along with two base cabinets.

We picked up the cabinets at Home Depot and had them anchored into the floor using 2x4s. The sides and backs of standard base cabinets rough, since they're normally not meant to be seen, so to create a smooth, finished surface all around the island we cut 1/4" wooden sheets to our dimensions and nailed them to the base. I used the extra foot of space behind one of the cabinets to create a simple bookcase using 1x6 boards and 2x4s. It's definitely not a professional job, but thankfully once primed and painted the lack of craftsmanship kind of blends into the rest of the island.


Rather than matching the cabinets and hardware to the rest of the kitchen, we decided to give the island a completely different look, almost like a freestanding piece of furniture in the room. We chose an oil based peacock green-blue color from Porter's Paints and chrome drawer pulls, which match the faucet and pot filler. I have been loving Jenny's brass hardware from LGN and think it would've looked amazing against the blue-green paint, but without a single other brass element in the room, I thought chrome was the way to go.

xo
Liza
Amazing, I love everything about this island!
ReplyDeleteThat island looks great! Very cool the way you integrated a bookcase, and a breakfast nook into it as well.
ReplyDeleteLOVE your kitchen!!! It looks even more beautiful in person.
ReplyDelete