For a long time now I have been planning on installing some kind of window treatment in the kitchen, where the one big window we have has been looking pretty bare. Hoping to do something simple and cost effective, I remembered Jenny's post a while back about DIY pelmets and decided to try it myself.

To create the wooden frame for the cornice, I picked up 6" boards from Home Depot for the top and sides and used some left over plywood sitting in my huge stack of extra wood from other projects. While I had measured the little space between our hanging cabinets and the window frame before I left, it turned out that the 3/4" boards I bought were too thick to squeeze in there, especially with the extra batting and fabric... so I had to improvise a little and ended up making do with some more scrap plywood pieces only 1/2" thick.


After a little online research into pelmet (or cornice board) designs, I ended up choosing one with pretty simple lines but also a little notching for interest. Why make it too easy for my first try, right? :) Once I had chosen my layout, I cut out the shape I wanted on a piece of paper and traced it on each end to be sure the two sides would match. Then a quick run through with the jigsaw and I was ready to assemble. I used a finish nailer to attach the frame and the front of the cornice all together and then switched to my pneumatic staple gun before beginning the upholstery part of the project.


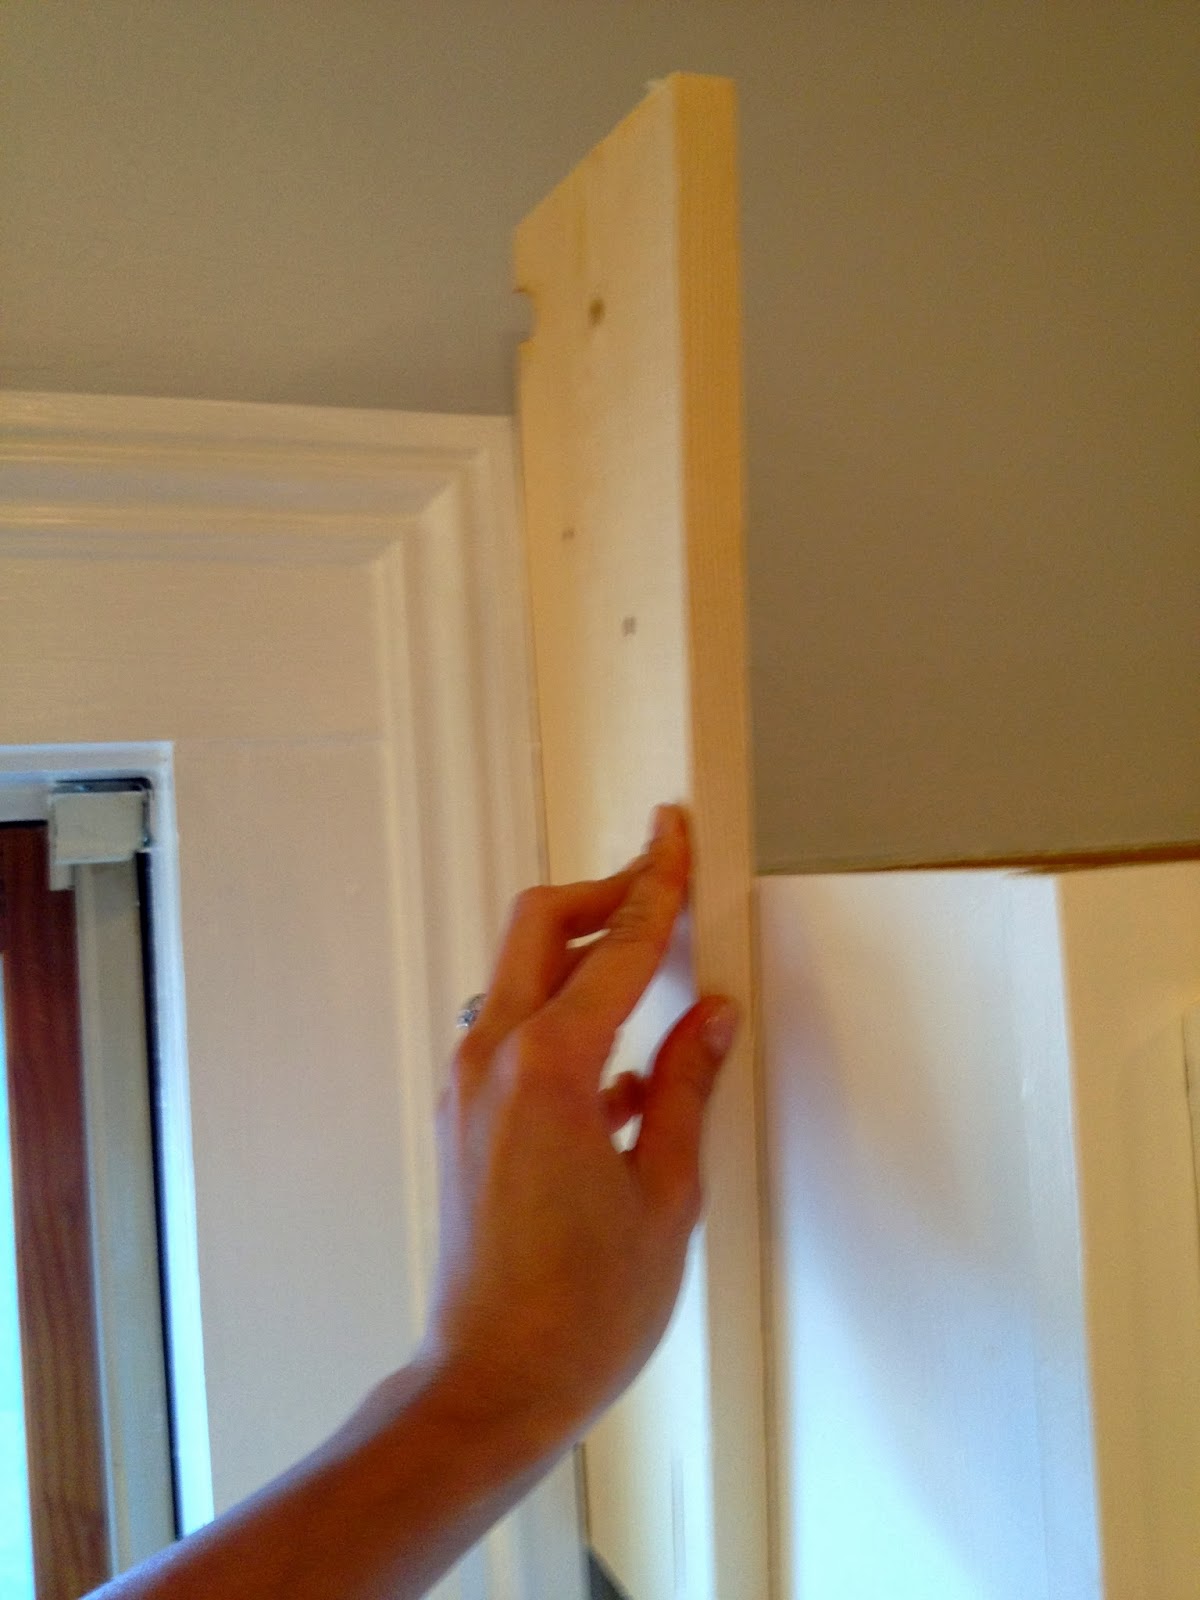
Once the frame was built I hung it temporarily on the window to be sure the dimensions worked proportionally with the window and that it would actually fit around everything before moving on to the upholstery.


I doubled up the batting around the frame to ensure a cushy, forgiving base for the fabric, wrapped it around the edges and stapled it in place.

Most upholstery fabrics don't come in sizes as wide as I would have needed for this window-- 77"-- so I didn't bother looking. After browsing through plenty of fabric shops for ideas, in the end I went with a piece of taupe and robin's egg blue trellis fabric that my mom gave me a couple of years ago. I always loved it but never had just the right use for it until now. After carefully pinning two edges together and matching the pattern as closely as possible, I stitched it down to create one larger piece of material, wide enough to cover the whole pelmet.


The most important thing I tried to keep in mind when stapling the fabric in place was to keep the pattern straight, pulling the material taught (but not too tight, so it doesn't pucker). Once the main body of the box was finished, I needed to attach a panel of fabric somehow to the inside sections of the side pieces, where you can see easily standing near the window. The staple gun can't reach down far enough to the corners to create a clean look, so I used a technique I've seen before in furniture upholstery: I cut long, thin sections of sturdy cardboard and stapled them into place at the back of the side sections. Then all I had to do was fold the edges, pull the pieces around and staple along the back where the pelmet meets the wall.


Even with this window being so wide and the extra step of pulling out the sewing machine, this whole project only took a half a day (not including my near-daily trip to Home Depot, which is just a given:)). I'm excited to have such an easy, fun project for sprucing up windows up my sleeve, and I'm thinking some other rooms might need an update on the next rainy day! Have you ever made your own pelmets?


xo
Liza
Liza
I love the clean and finished look!
ReplyDeleteI like wood. The information good for me. I like décor my home by wood. I have problem with cutting board 45 and 90 degree. Do you sharing tips? I want to décor crib for my daughter next week
ReplyDeleteThank for your sharing. I read information very late, your article is closed but congrats to our winner. I bought Dewalt miter saw. It very good, I think I create anything that join contest
ReplyDelete