As I have mentioned before, one of the projects that's been lingering on my list for ages now is to install shoe molding around the edges of nearly all of the rooms upstairs. Once we removed the old carpet, pulled out all of the nails and staples, and then primed, painted and sealed the floors, I took a bit of a break and lived without the final molding for a little while. Know your limits, right? :)
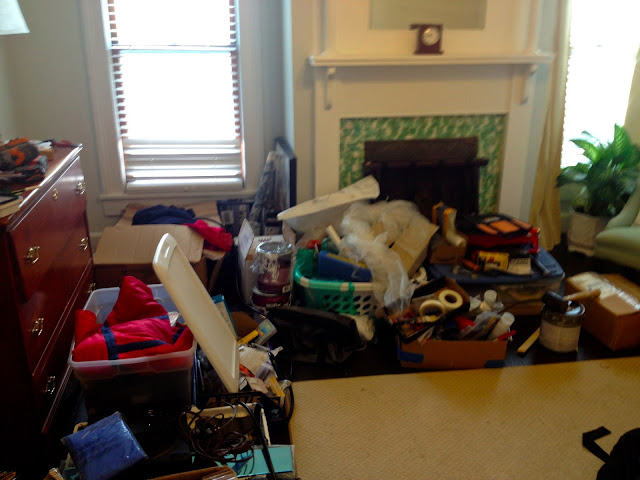
Part of the problem in the middle room was that we stuffed the entire space full of power tools, paint cans and extra boxes I didn't have the heart to unpack, so even if I'd wanted to install the woodwork it would've been a challenge. In a recent burst of project-finishing energy I decided to tackle the next couple of phases in here, beginning with installing shelves in the ridiculously deep sides of the closet, sorting through all of the junk (well, most of it...) and finally clearing out the room itself. Stay tuned for a post on the organization!
Here's what was facing me at the start-- pretty bad, I know!
Once the room was free enough of piles of junk I was able to begin installing the quarter round. Here you can see the unfinished before look of the trim, definitely in need of shoe molding and a fresh coat of paint.
My first step with molding projects like this is always to paint two coats of my trim color on pre-primed wood before installing it. This part is agonizing for me, since I'm always itching to get started on the fun part (the cutting and nailing), but painting ahead of time makes your life so much easier in the end that I make myself do it. Once everything is in place, you don't have to worry about taping, since all you have to touch up is the wood putty-filled nail holes.
With any woodworking project, the most important rule (other than safety-- you don't want to lose a finger!) is measure carefully, and even better, measure twice!
These safety goggles that Jady bought me for Christmas are my favorite! They're comfortable, heavy duty, and seriously good looking-- pretty hot, don't you think? :)
Once I have measured the space and then the wood itself, I line up the edge of the saw as carefully as possible to the line I have marked. The goal here is precision, but if I'm going to err at all, it's always better to cut it a bit larger. You can always cut more off on your second try.
Most of our rooms upstairs have funky angles, which are not as straightforward for molding installation as a standard 45 degree cut (which is what you use for a 90 degree wall angle). Unusual angles are no problem at all, though, as long as I have my trusty angle finder tool. This thing is SO much fun to use and takes all of the guesswork out of things, saving tons of time and piles of trial and error molding pieces.
It really is this simple: lay the tool up against the angle you need, pushing the two edges up against the wall or baseboard. Then just read the number on the dial where it's marked Miter Cut, and set your miter saw to that exact degree. Use the same number to cut the adjoining piece of molding, just in the other direction... and that's it!
Be sure to check that your pieces all fit properly, and then comes the best part: nailing those suckers in! Once everything is installed, I filled all of the holes with wood putty and caulked the line between the shoe molding and the baseboards, smoothing out the transition. To finish off the whole project I painted the baseboards and touched up over the wood putty and caulk-- and whew! Finally finished.
I had to hurry to take these after photos for y'all, so you'll notice that I only have one set of curtains hung! Sorry for the lopsided look, but hey, I figured it was actually better this way for this particular post, since you can better see the finished molding... So in a way, I'm doing you a favor;)
xo
Liza


No comments:
Post a Comment