So we have already stripped our sofa, and now we are ready to get into the really fun part of putting it all back together again!
Tools you'll need for this part of your project include:
Hammer
Upholstery tacks
Staple gun and LOTS of staples
Sewing machine (unless you really have a lot of free time)
One of these curved needles, for finishing the final pieces

The first thing we tackled was the cushion covers, which are simple wrap around ones that were the easiest to make. We wanted to start off with something less complicated so we wouldn't get too overwhelmed.
Next we decided to go on and sew all of the cording we would need at the end for the trim so we would have that ready when the time came.

Here is a good visual tutorial on how to sew double-cord welting, which gives your piece of furniture a finished look and is easy to attach using glue.
Your starting point for where you begin with reassembly is the last thing you removed-- for us it was the base of the sofa underneath the cushions, and the tricky part was recreating how the fabric was sewn into the coils and burlap underneath to anchor the whole piece and keep it from pulling.

Using our trusty curved needle to sew the fabric into the base of the couch to anchor it to the layers underneath.

Stuff, tug yank the fabric through to the back and pull around to staple to the frame of the sofa.

When you are stapling the fabric to the frame, it's important to remember that tautness is key. A little trick I learned from stretching canvases is to start in the middle and work out to one side, pulling as you go. Here is a great guide to help you remember how to staple:

via LGN
In some places the trim was sewn to a larger piece of the fabric, in others nailed down first with the fabric attached on top, and finally some sections were just glued down at the very end. Remembering which is where your notes come in handy.

The final piece of large fabric on our sofa was the back section, which could be tacked in at the top and stapled into the frame underneath at the bottom, but each side needed to be hand sewn with our curved needle. This part doesn't take as long as you'd think, and the special needle really does help keep your lines straight and the fabric from pulling.

Wait for it....
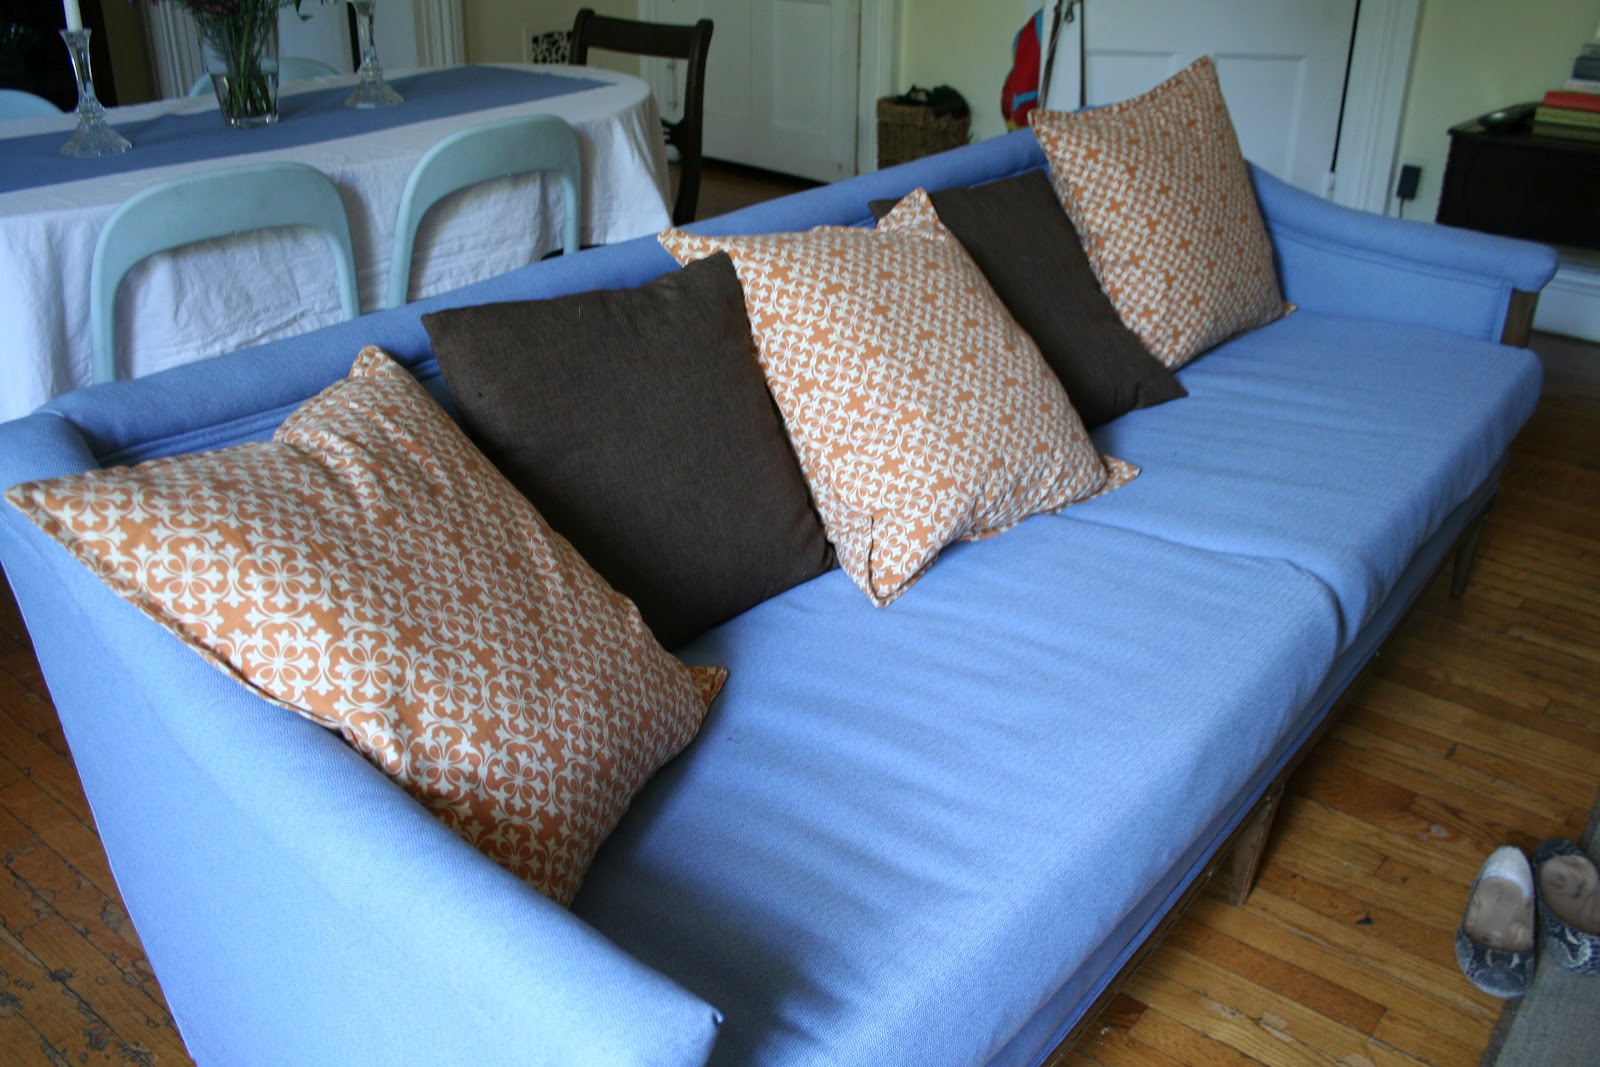
The Finished Product
And here is Melina's new couch! I have to admit, we were pretty tired after all of our hard work, but in the end the whole thing only took us FOUR DAYS to complete from start to finish. And believe me, there were plenty of coffee breaks during that time. That's pretty quick for such a huge project, right?


(I told you we were proud of ourselves)
Liza
Wow! You girls are incredible! It looks awesome! Can't wait to see it in person.
ReplyDeleteThis is amazing!! It looks so great! I've been dying to see the result all week, and it was not a disappointment. Melina, you must be so thrilled to have a brand new sofa. You girls are an inspiration!
ReplyDeletewow! great job!
ReplyDeleteSimply amazing.
ReplyDeleteThat does look great, you've done a beautiful job! I have this linked to my DIY upholstery post too today, for inspiration!
ReplyDelete